
Last updated November 17, 2026
 Home additions & ADU
 Kitchen remodeling
 Bathroom remodeling
 Roofing
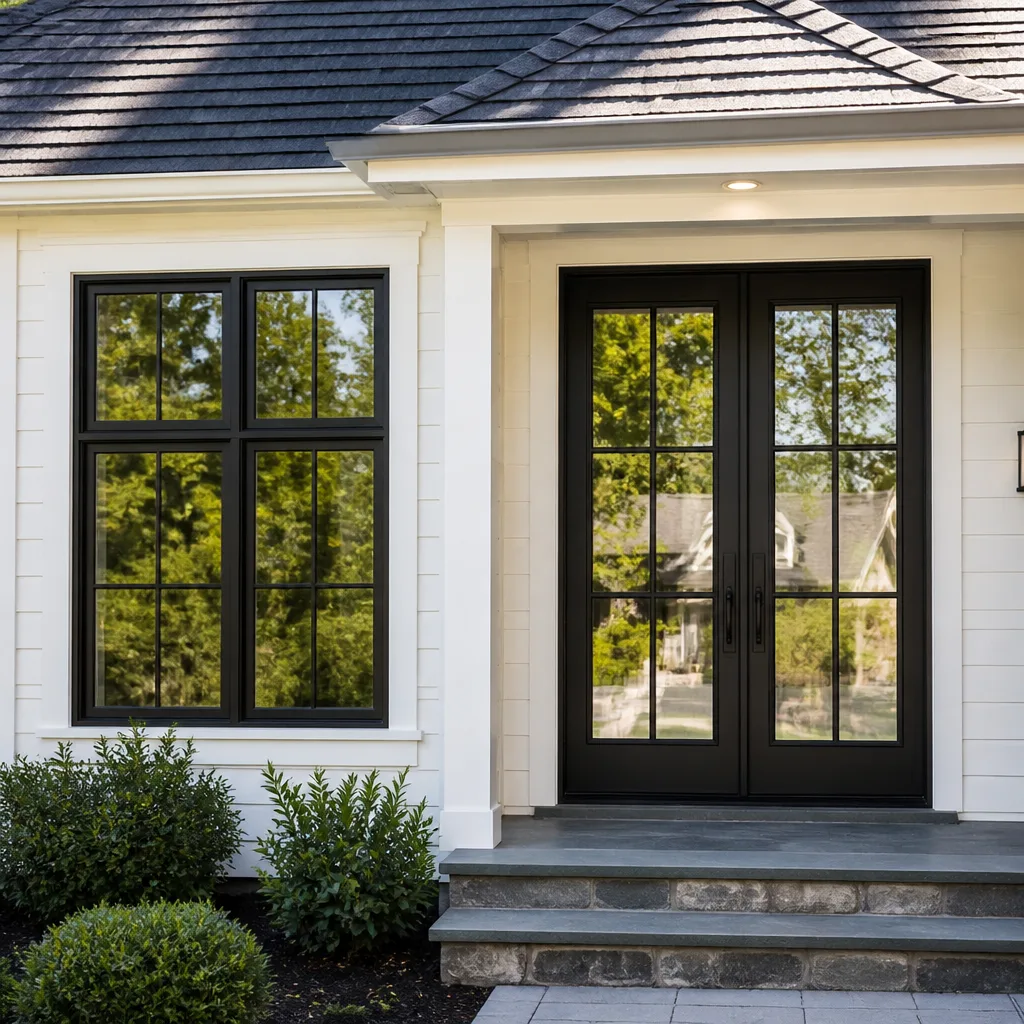 Windows & doors
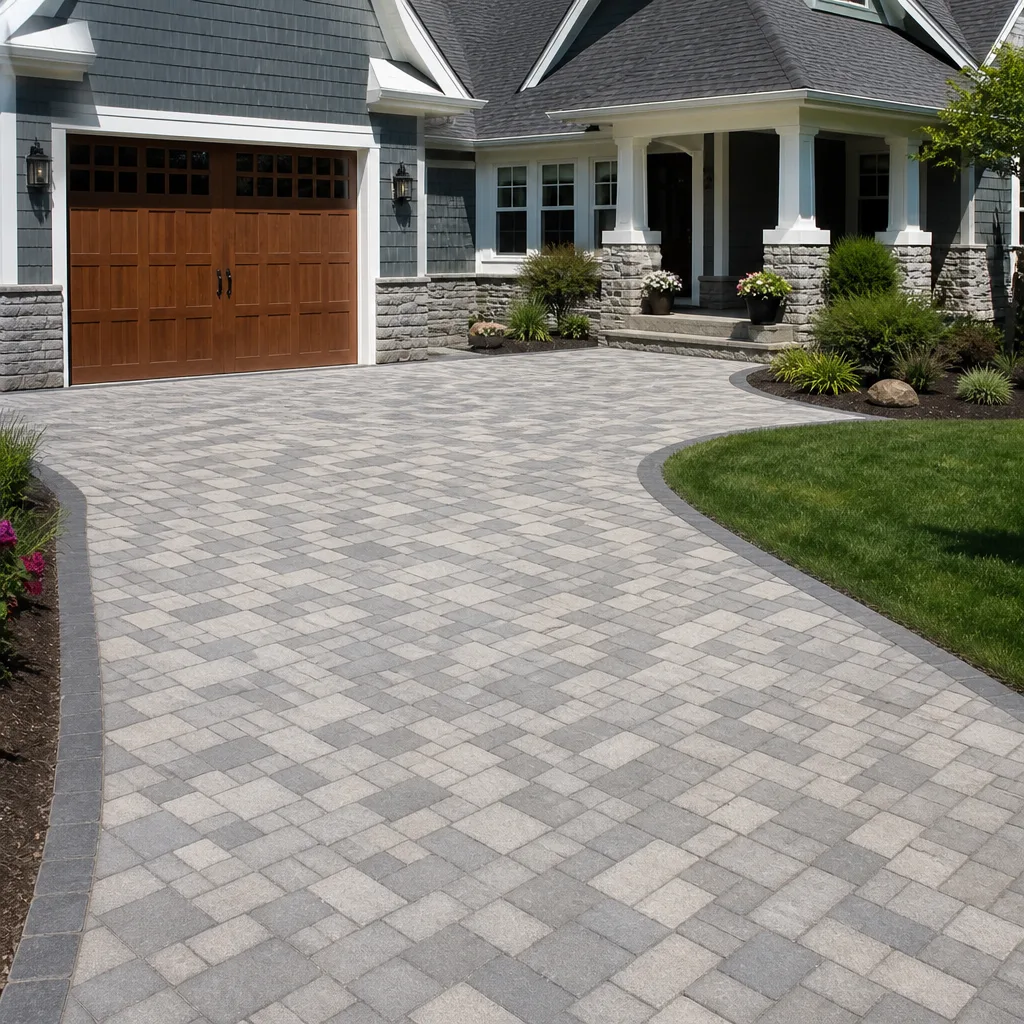 Driveway & pavers
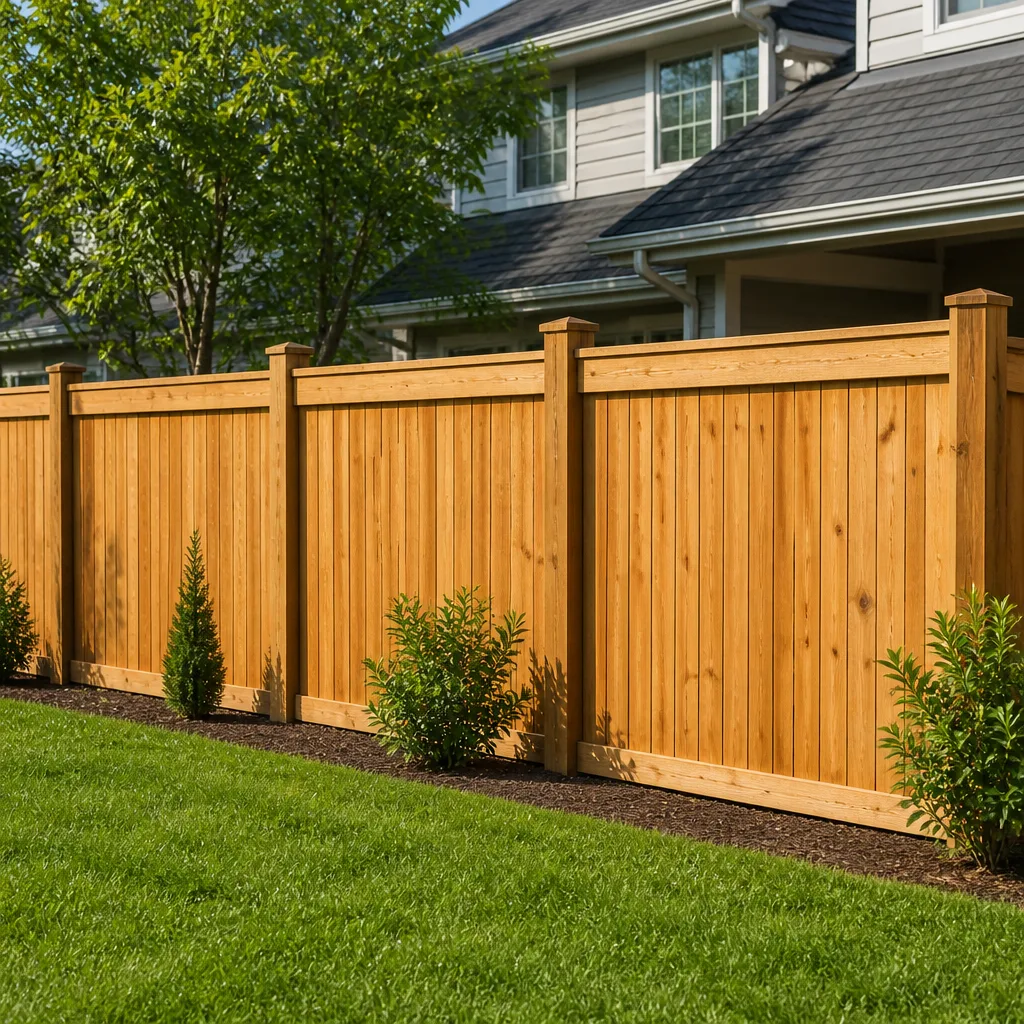 Fence
Free written scope consultation - allowances, timeline, and change-order rules on paper before a single trade is scheduled
DIY vs Professional Construction: The Richmond Homeowner’s Decision Guide
The tasks most Richmond homeowners feel confident taking on themselves – pressure washing a walkway, re-caulking a shower, patching a section of concrete – are often the exact jobs where the wrong technique speeds up the damage you’re trying to stop. A pressure washer aimed too hard at old mortar opens joints to water. A caulk bead laid over damp grout traps moisture behind it. This guide won’t tell you to hire out everything, and it won’t pretend every project is beyond a careful homeowner. What it does is draw a practical line: which work is genuinely safe to handle yourself, which work rewards doing the prep but hiring the finish, and which work can create permit, insurance, or liability problems if you go it alone in Richmond.
Quick Answer
You can safely DIY cosmetic and low-risk maintenance: painting, pressure washing, caulking, fencing a low fence, laying pavers on a flat patio, and light landscaping. Hire a professional for anything that involves structural work, waterproofing systems, roofing, electrical, gas, permits, or the home’s exterior envelope. In Richmond’s moisture-heavy climate and permit-required environment, the threshold for “hire this out” sits lower than most homeowners assume – and the cost gap between DIY and professional labor is often smaller than the risk gap.
Styles & brands we work with
- Kitchen remodeling
- Bathroom remodeling
- Home additions & ADU
- Roofing
- Windows & doors
- Driveway & pavers
- Fence
Table of Contents
- The Project Matrix: Safe DIY, DIY-the-Prep, and Never-DIY
- The Permit Reality in Richmond: What California Law Requires
- Why Waterproofing and Concrete Repair Fail in Richmond’s Climate
- Calculating True DIY Cost and Finding the Break-Even Point
- What Unpermitted Work Does to Your Homeowner’s Insurance
- The Full-Envelope View: Why Exterior and Interior Projects Connect
- Material Choice and the Change-Order Trap
- When to Call a Professional
The Project Matrix: Safe DIY, DIY-the-Prep, and Never-DIY
This is the framework we come back to again and again, because “can I do this myself?” isn’t a single yes-or-no question. It depends on what happens if the work fails. A failed paint job is a weekend of rework. A failed shower pan is a rotted subfloor and a mold remediation bill. The consequence, not the skill level, is what should drive your decision.
Genuinely safe DIY tasks
- Interior painting of walls and ceilings in good condition
- Pressure washing driveways, patios, and siding (with the right nozzle and pressure setting)
- Re-caulking tubs, sinks, and window trim where the substrate is dry
- Replacing hardware, outlets covers, light fixtures, and cabinet pulls
- Laying a simple ground-level paver patio on a properly prepared base, if you’re comfortable with the excavation
- Fencing a low front-yard fence, provided it meets height rules and isn’t load-bearing or a shared property line dispute
- Patching small drywall holes, repainting touched-up trim, and light landscaping
“DIY the prep, hire the finish” tasks
Some projects split naturally. You do the demolition, clearing, and cleanup; a professional handles the technical finish. Removing old tile in a bathroom, hauling debris, stripping fence panels, and prepping a driveway for pavers are all jobs a motivated homeowner can take on to save labor cost. The finish – waterproofing, membrane, pavers set to a proper slope, or new roofing – is where the failure risk sits, and where the cost of a mistake scales badly.
Projects where DIY creates liability or permit problems
- Anything structural: load-bearing walls, additions, home additions & ADU builds
- Roofing, including repairs and full replacement
- Electrical panel work, new circuits, and outlet installation beyond a simple faceplate swap
- Gas lines and gas appliance connections
- New or substantially modified plumbing, including waterproofing membrane systems
- Windows and doors in the exterior envelope, including impact-rated lines
- Any work requiring a building permit
The common thread in that last group is not the skill involved; it’s the legal and safety exposure. These are the projects where a mistake can injure someone, damage the structure, or invalidate an insurance claim.
The Permit Reality in Richmond: What California Law Requires
Under California law, certain construction work requires a building permit, and the permit must be pulled by the person legally responsible for the work. A homeowner can pull some permits as an owner-builder, but only for a home they live in, only for certain scopes, and only if the work will not be sold within a specified period. In practice, for most major projects in Richmond, the permit process is designed around licensed contractors – not because the code forbids owner work, but because the inspection and liability chain assumes a professional signature.
Projects that typically require a permit in Richmond
- New additions and ADUs (accessory dwelling units)
- Structural alterations: load-bearing wall removal, new openings, foundation work
- Roof replacement, and reroofing that changes the material type or adds weight
- New windows and doors when the size or location changes, or the opening’s framing is modified
- Electrical panel upgrades or new circuits
- New plumbing fixtures or re-piped supply and drain lines
- Water heater replacement with a change in size or fuel type
What “pulling a permit” actually means
- You or your contractor submit plans and scope to the City of Richmond’s building department.
- If required, a plan review happens before any work starts.
- Inspections are scheduled at defined stages: framing, rough-in, final.
- The permit closes after the final inspection passes.
Two important realities: the permit process adds time to the schedule, and the “as-built” record it creates becomes part of your property’s public file. Unpermitted work, by contrast, is invisible to the city until you try to sell, refinance, or insure – and then the paperwork gap shows up in the worst way.
Why Waterproofing and Concrete Repair Fail in Richmond’s Climate
Richmond sits in a moisture-heavy climate, with cool, damp stretches, seasonal rain, and long windows where surfaces never fully dry. That’s the killer condition in the DIY failure column: many waterproofing and concrete repair products need dry substrates, stable temperatures, and cure windows that the local weather rarely gives you in one stretch. A homeowner reads the label, picks the product, and applies it during a dry weekend – and the material fails at the edges within a season.
The failure modes that show up at the edges
- Trapped moisture under caulk or sealant: applied over damp grout or concrete, the material traps water against the surface. The bead looks fine and the substrate behind it rots.
- Wrong product for the assembly: silicone over grout, polyurethane over acrylic, or a patch product mixed for a dry climate used in a wet one. The failure is mechanical, not user error.
- Slope and drainage mistakes: shower pans, patios, and driveway joints set a fraction too flat. Water pools. In a mild winter it never freezes, but it never evaporates either.
- Cold joints in concrete: patching concrete in stages without proper bonding leaves a seam that opens the first time the slab shifts.
- Sealing green or wet concrete: sealer applied before the slab fully cures causes haze, flaking, and trapped moisture.
The right application conditions – surface moisture content, ambient temperature, cure timing, and product compatibility for the specific assembly – are what professionals check before the first tube opens. That’s why driveway & pavers, roofing, and bathroom waterproofing are areas where the labor cost of doing it wrong is far higher than the cost of hiring the right crew. You can read more about the exterior half of that equation on our driveway & pavers page.
Calculating True DIY Cost and Finding the Break-Even Point
DIY budgets tend to count materials and skip everything else. The homeowner walks into the hardware store with a paint-and-supplies number in their head, and finishes the project having spent noticeably more. When you add those overlooked costs, the gap between DIY and professional labor closes fast – and on some projects, it closes entirely.
What to include in a true DIY cost
- Materials, plus waste factor: plan 10-15% overage for cuts, breakage, and mis-measurement. Tile, lumber, and pavers are the usual offenders.
- Tool rental: tile saw, compactor, pressure washer, wet saw, demolition hammer. Rental days add up quickly.
- Consumables: blades, bits, adhesive, fasteners, sandpaper, tape, drop cloths, safety gear.
- Disposal: dumpster rental or repeated hauls to the transfer station. Concrete and tile are heavy.
- Your time, honestly valued: a weekend project that takes four weekends is a month of no kitchen, no bathroom, or no front yard. If a contractor’s labor is a few hundred dollars more than your true DIY cost, you’re not saving money – you’re spending it on time.
- Rework risk: the biggest line item. When a DIY job fails, you pay twice for materials and once for professional correction.
Where the break-even usually lands
For small, low-risk tasks – painting a room, re-caulking a tub, replacing a fence panel – DIY usually wins on pure cost, and it should. For mid-sized projects with moderate failure risk (a paver patio, a tile backsplash, a full fence line), the break-even sits close to even once tools and disposal are counted, and swings toward professional when you value your time. For anything in the permit or waterproofing tier, there’s no realistic DIY cost saving; the rework risk dominates.
What Unpermitted Work Does to Your Homeowner’s Insurance
Here’s the part most homeowners don’t hear until it’s a problem: unpermitted or owner-performed work can affect how an insurer handles a future claim. Insurance policies generally require that improvements and additions be disclosed, and that work meet code. When a claim traces back to unpermitted construction, insurers have grounds to deny, reduce, or exclude the payout – not because the homeowner acted in bad faith, but because the work wasn’t documented as compliant.
Where this bites in practice
- Water damage from a DIY shower or bathroom: if the waterproofing was never inspected, the insurer may treat the resulting damage as a maintenance issue, not a covered loss.
- Fire from electrical work: unpermitted outlet or circuit work that causes a fire can trigger a coverage dispute.
- Roof leaks after a DIY reroof: if the roof was never inspected and doesn’t meet code, a resulting leak claim may be reduced or excluded.
- Refinance or sale discovery: an appraiser or inspector flags the unpermitted addition. The owner now has to legalize it retroactively (pull permits, open walls for inspection, pay penalties) or disclose it and reduce the sale price.
This is one of the clearest reasons to hire licensed, insured professionals for any work in the permit tier. It’s not about protecting the contractor; it’s about protecting the homeowner’s coverage, resale value, and legal position. A written line-item estimate, a pulled permit, and a passed inspection are the documentation chain that keeps the policy and the property records clean.
The Full-Envelope View: Why Exterior and Interior Projects Connect
Most homeowners think of their projects as isolated line items: the roof, the bathroom, the driveway, the fence. The problem is that the house doesn’t work that way. A bathroom remodel that doesn’t coordinate with a window replacement leaves a moisture problem inside the wall. A paver installation that doesn’t address drainage directs water toward the foundation. A fencing project that doesn’t account for property lines and setbacks causes a neighbor dispute that can cost more than the fence.
In our experience, projects handled by a single contractor across the whole envelope finish with fewer change-orders and fewer soft spots between the trades. That’s the practical reason we cover both interior transformations and exterior upgrades through one coordinated process. One contractor, every project phase, from the driveway to the roofline.
Examples of connected projects
- Roof and windows together: a roof replacement is the moment to address window flashing and envelope sealing, because the intersections matter.
- Bathroom and plumbing fixtures: waterproofing and fixture selection should be chosen together so the trim and rough-in match on the first try.
- Driveway and landscaping drainage: pavers and grading coordinate with how water moves off the property.
- Fence and property-line survey: fence installation is only as good as the boundaries it respects.
- Addition and ADU site planning: setbacks, utility connections, and roof tie-ins all need one coordinated plan.
You can see how we approach that coordination across the full service set on our Construction Richmond page.
Material Choice and the Change-Order Trap
Change-orders are where mid-project budgets break. A homeowner starts with no material decision, the contractor installs a default, and the homeowner walks into the finished bathroom realizing the countertop they got wasn’t the one they wanted. Rework, reshipping, and reinstallation charges follow.
The right way to approach material choice
- Choose the brand before the build, not after. Countertops, cabinets, fixtures, roofing, and pavers are all brand-driven decisions; committing to the line at contract stage is what keeps the price fixed.
- Match the material to the room and the use. Quartz countertops from Cambria or Silestone behave very differently from natural stone in a busy kitchen. Cabinet lines like KraftMaid and Wellborn offer different price tiers and finishes.
- Think in warranty tiers. Roofing manufacturers such as GAF and CertainTeed offer warranty programs that depend on which product tier you choose, so the decision affects your protection years later, not just the look on day one.
- Coordinate plumbing fixtures with the rough-in. A Kohler or Moen fixture chosen at the design stage means the rough-in and trim match without surprises.
When you can source from 50+ national brands across every category, the material decision stops being a take-it-or-leave-it spec. You choose the brand, we handle the build – and the written estimate locks the price before any tools come out.
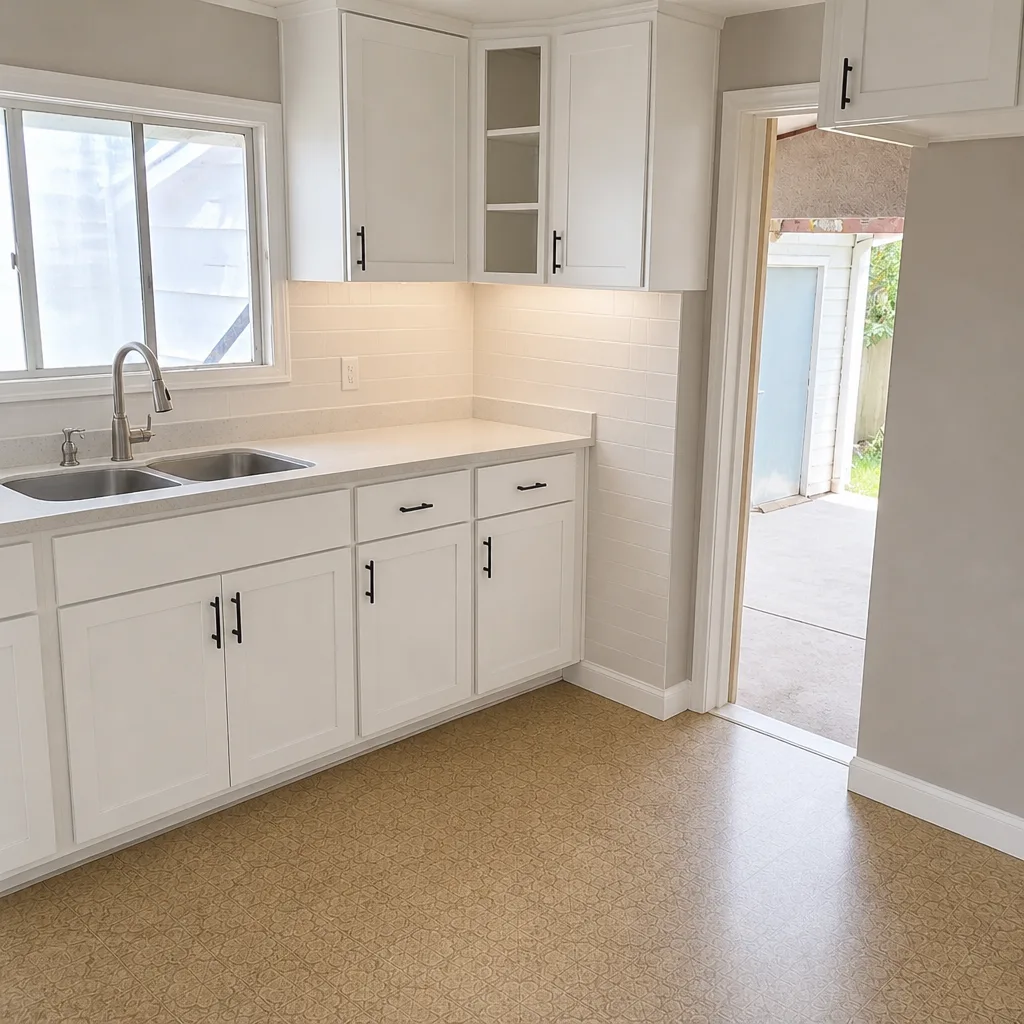
See the difference
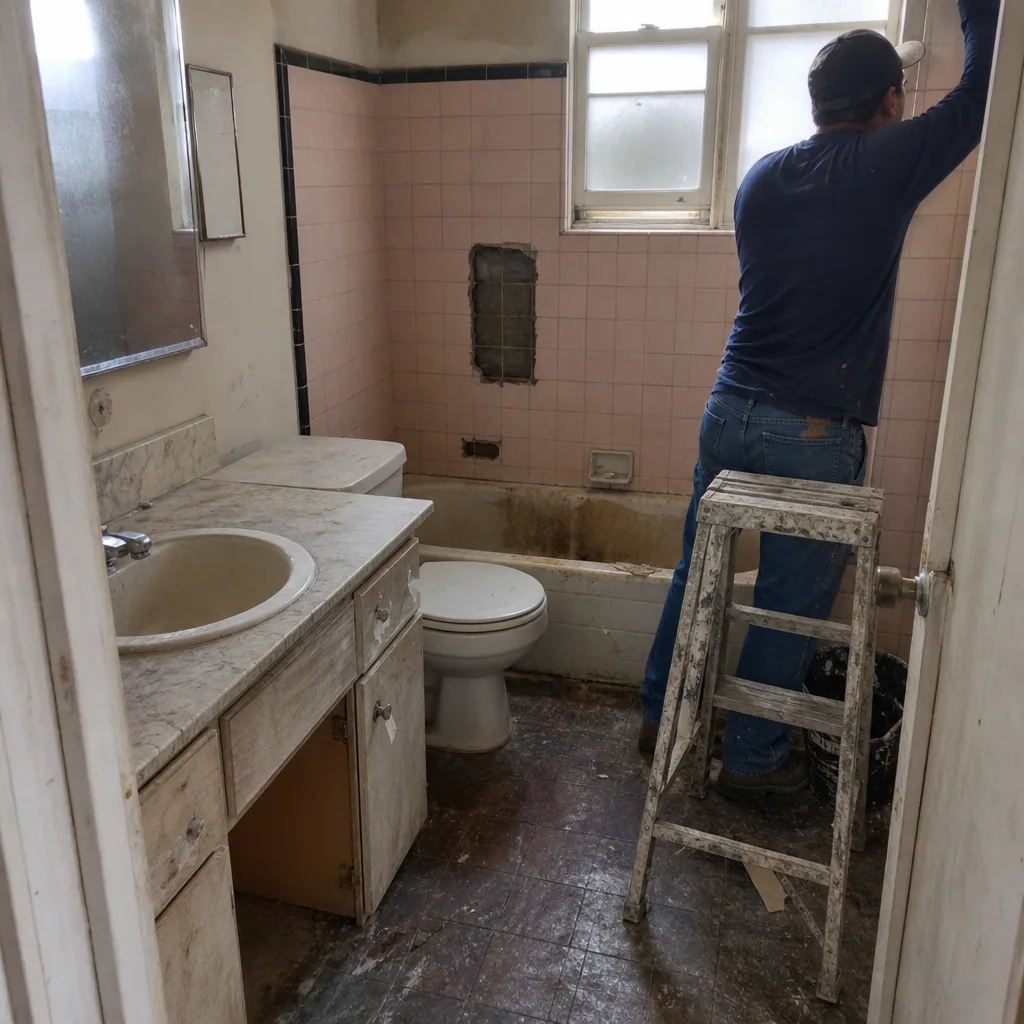 Before
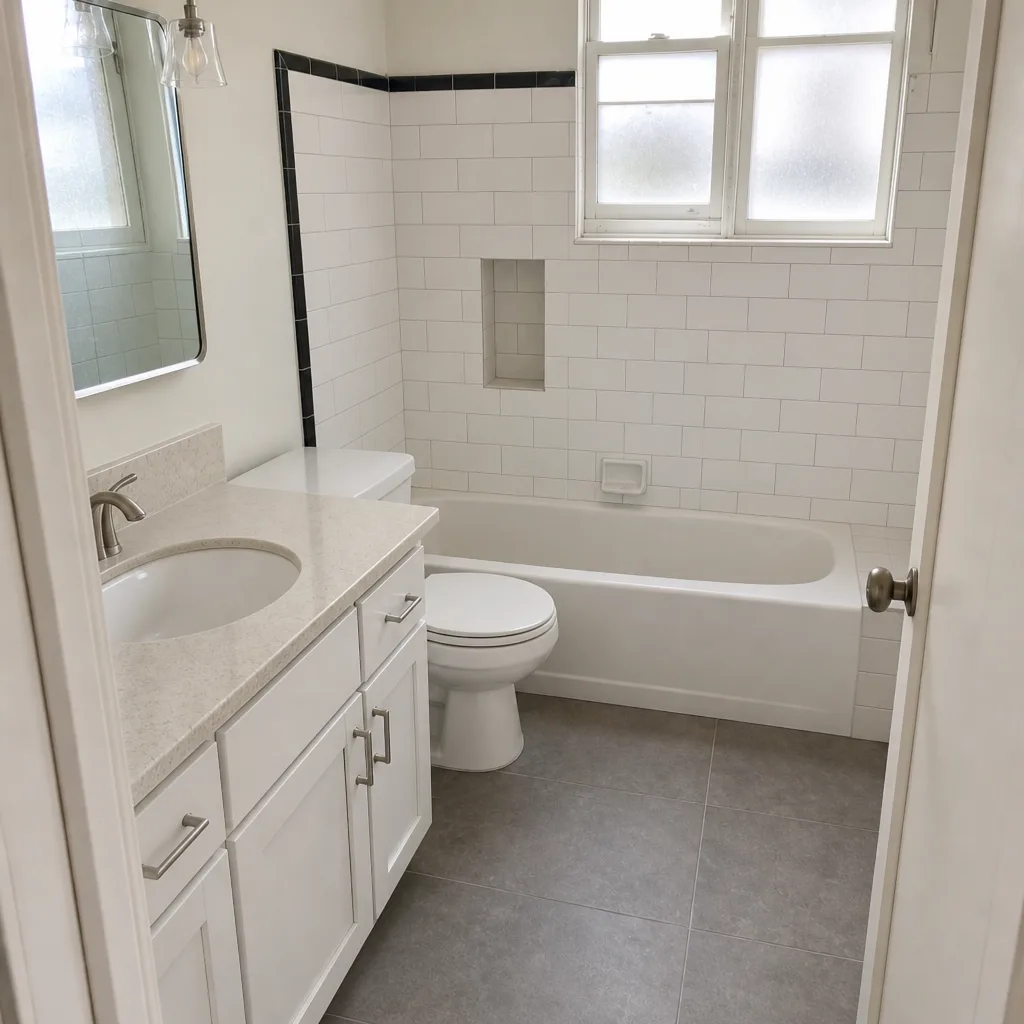 After
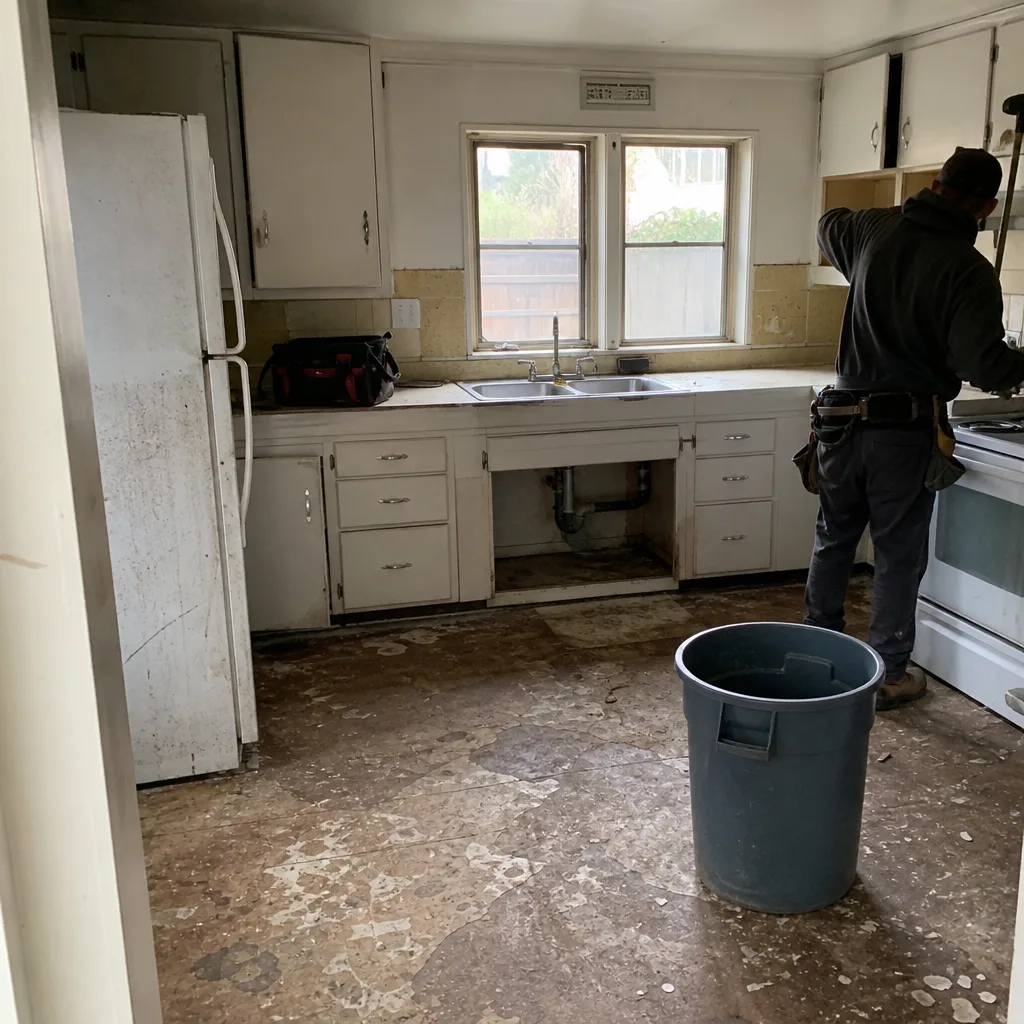 Before
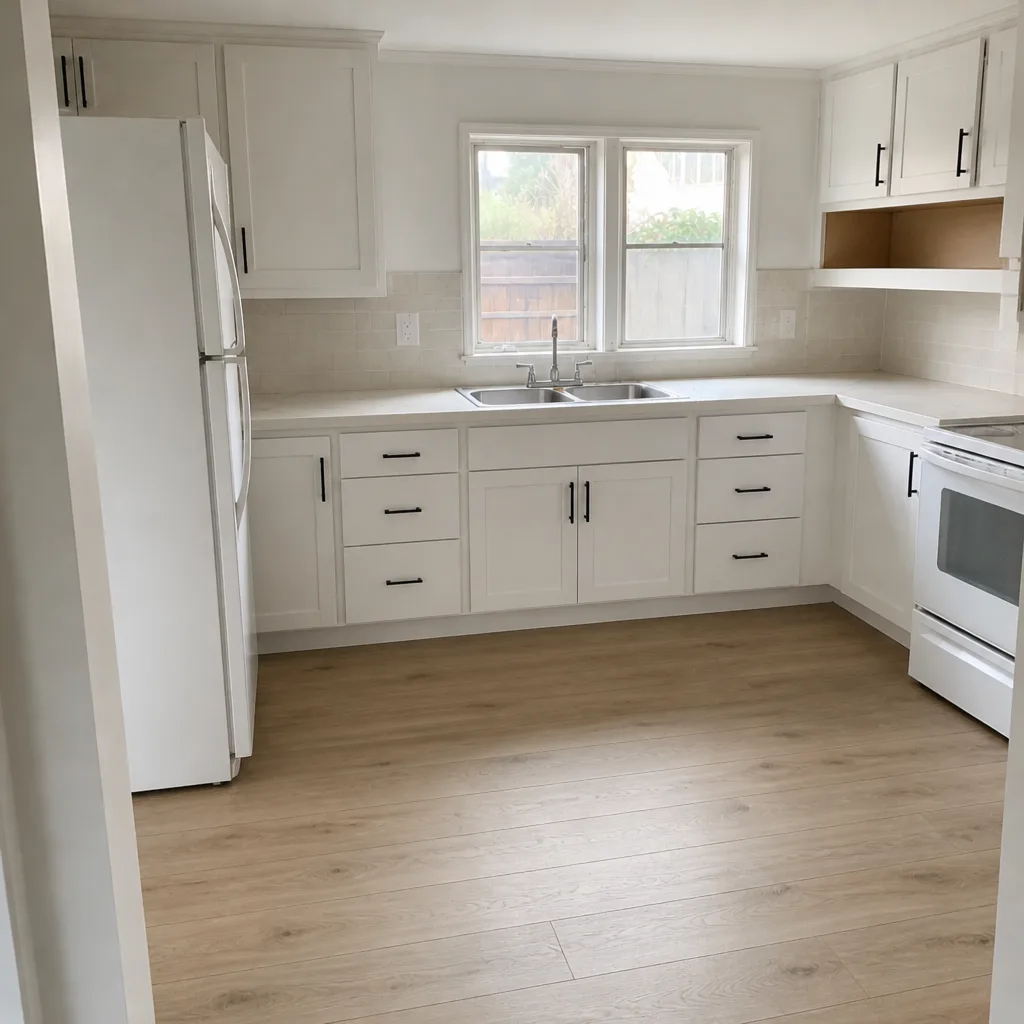 After
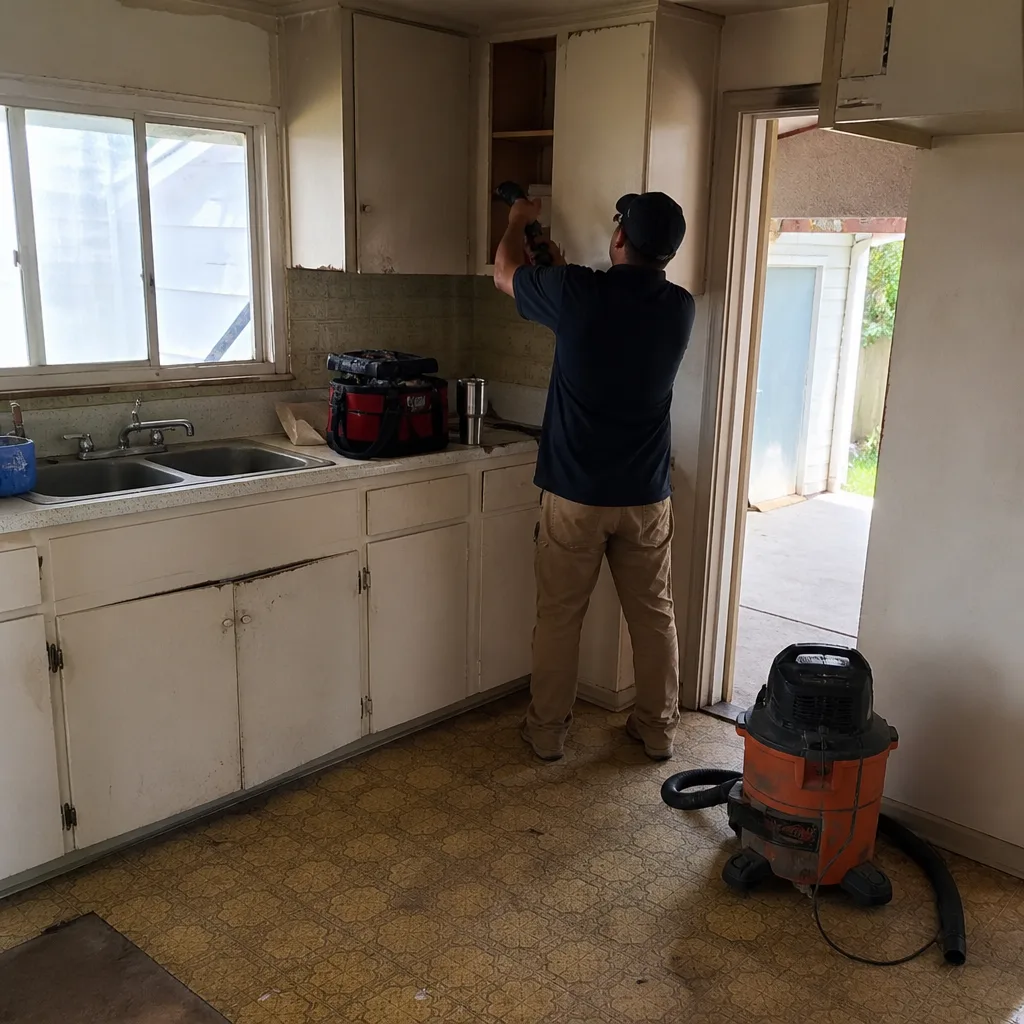 Before
 After
Common Mistakes to Avoid
- DIYing a permit-required project and skipping the permit. The work may look right, but the unpermitted record follows the property for years and can derail a refinance or sale.
- Applying waterproofing or concrete sealant during a dry forecast that doesn’t hold. Richmond’s damp climate doesn’t give long cure windows; the product fails at the edges and the damage shows up a season later.
- Count tool rental, waste factor, and disposal as “extra” in the DIY budget. They’re not extra; they’re part of the total, and they’re where the break-even math flips.
- Patching concrete in stages without a proper bond. The seam opens the first time the slab shifts, and the fix costs more than the original repair.
- Removing a wall without confirming it’s non-load-bearing. Structural work always requires an engineer or a licensed professional; the discovery after the fact is a rebuild, not a repair.
- Choosing materials at the wrong stage of the project. Brand and product decisions deferred to mid-build are the number-one source of change-orders.
- Fencing to a property line you haven’t confirmed. A survey before you dig is cheaper than a replant and a legal dispute.
When to Call a Professional
Call a professional anytime the project touches the structural system, the exterior envelope, the waterproofing system, or the electrical and plumbing rough-in. Also call when the work requires a permit under California law, when a failure would create a safety risk, and when you’re not sure. In Richmond, the moisture-heavy climate shifts several borderline projects into “hire it out” territory, because product application and cure conditions leave less room for error than in drier regions. Our technicians have up to 11 years of experience and we offer free estimates in Richmond – call (877) 367-8617 to schedule yours. A written line-item quote up front is the difference between a fixed-price project and a mid-build surprise.
Frequently Asked Questions
Yes for anything that moves or replaces plumbing, electrical, or structural elements, and for the waterproofing membrane in most cases. Cosmetic work like paint, tile on top of existing tile, and cabinetry swap normally doesn’t require one. Ask the City of Richmond’s building department about your specific scope before any work starts. Call (877) 367-8617 for a free estimate and we’ll walk through what your project requires.
You can install a ground-level patio if the base preparation and drainage are done correctly, but a driveway adds vehicle loading and requires a thicker compacted base and a proper edge restraint. The prep is the part people underestimate. If you’re not confident in the excavation and compaction, hire it – the paver layer flattens out quickly if the base fails. Call (877) 367-8617 to schedule a free estimate.
You have to disclose it, and the buyer’s lender may require it be legalized retroactively before the sale closes. That means pulling permits, opening walls for inspection, and paying penalty fees. Some sales proceed with a reduced price instead. Either way, unpermitted work shows up in the property record when you’re trying to sell, refinance, or file an insurance claim. Call (877) 367-8617 for a free estimate and a clear plan.
Often, no, or only partially. Policies generally require disclosed, code-compliant improvements, and a claim that traces to unpermitted or improperly performed work can be denied, reduced, or excluded. That risk is real whether you’re in Richmond or anywhere in California. The safest protection is a permit and a licensed contractor for anything in the permit tier. Call (877) 367-8617 for a free estimate.
Not usually once true costs are counted. Materials, tool rental, waste, disposal, and rework often close most of the gap with professional labor, and permit and waterproofing requirements in a Richmond climate push the rest. A fixed-price written estimate from a single contractor also eliminates the change-order trap that DIY budgets almost always hit. Call (877) 367-8617 for a free estimate.
Yes, and that’s how we work. Coordinating exterior hardscaping, structural upgrades, and interior renovations through one team avoids the gaps between trades that cause rework. Our team covers seven service lines – driveway & pavers, fence, additions & ADU, bathroom, windows & doors, roofing, and kitchen – and sources from 50+ national brands. Call (877) 367-8617 for a free estimate.
The Bottom Line
The DIY vs professional question isn’t about whether you’re capable; it’s about what happens if the work fails. In Richmond, that threshold sits lower than most homeowners expect because the moisture-driven climate makes application conditions unforgiving and the permit reality means much of the work has to be documented whether you do it or not. Small cosmetic work is genuinely safe to handle yourself, and the prep phase of bigger projects is a reasonable place to save labor. Everything in the structural, envelope, waterproofing, or permit tier belongs with a licensed, insured professional – not because the homeowner can’t read the label, but because the cost of a mistake in unpermitted work, insurance exposure, and rework is far higher than the labor. Written line-item estimates, fixed pricing, pulled permits, and passed inspections are the protection chain that keeps the property clean and the policy intact. From the driveway to the roofline, one contractor keeps the work coordinated and the budget honest.
Ready to Price Your Project? We Make It Simple.
If you’re past the point of DIY and ready for a real number, the next step is a free estimate. One contractor covers every project phase – exterior, structural, and interior – so you never have to coordinate competing crews. Call (877) 367-8617 to schedule your free estimate. We answer 24/7, with fast dispatch from 7am to 7pm, Sunday through Friday. You’ll get a written, line-item quote with brands you choose and pricing that stays fixed unless the scope changes in writing.
Written by the team at Construction Richmond.